
Your Flashing Authority
by: Schuyler Wetmore, York Flashings
and Brian Stroik, FABAA, CABS, CRIS
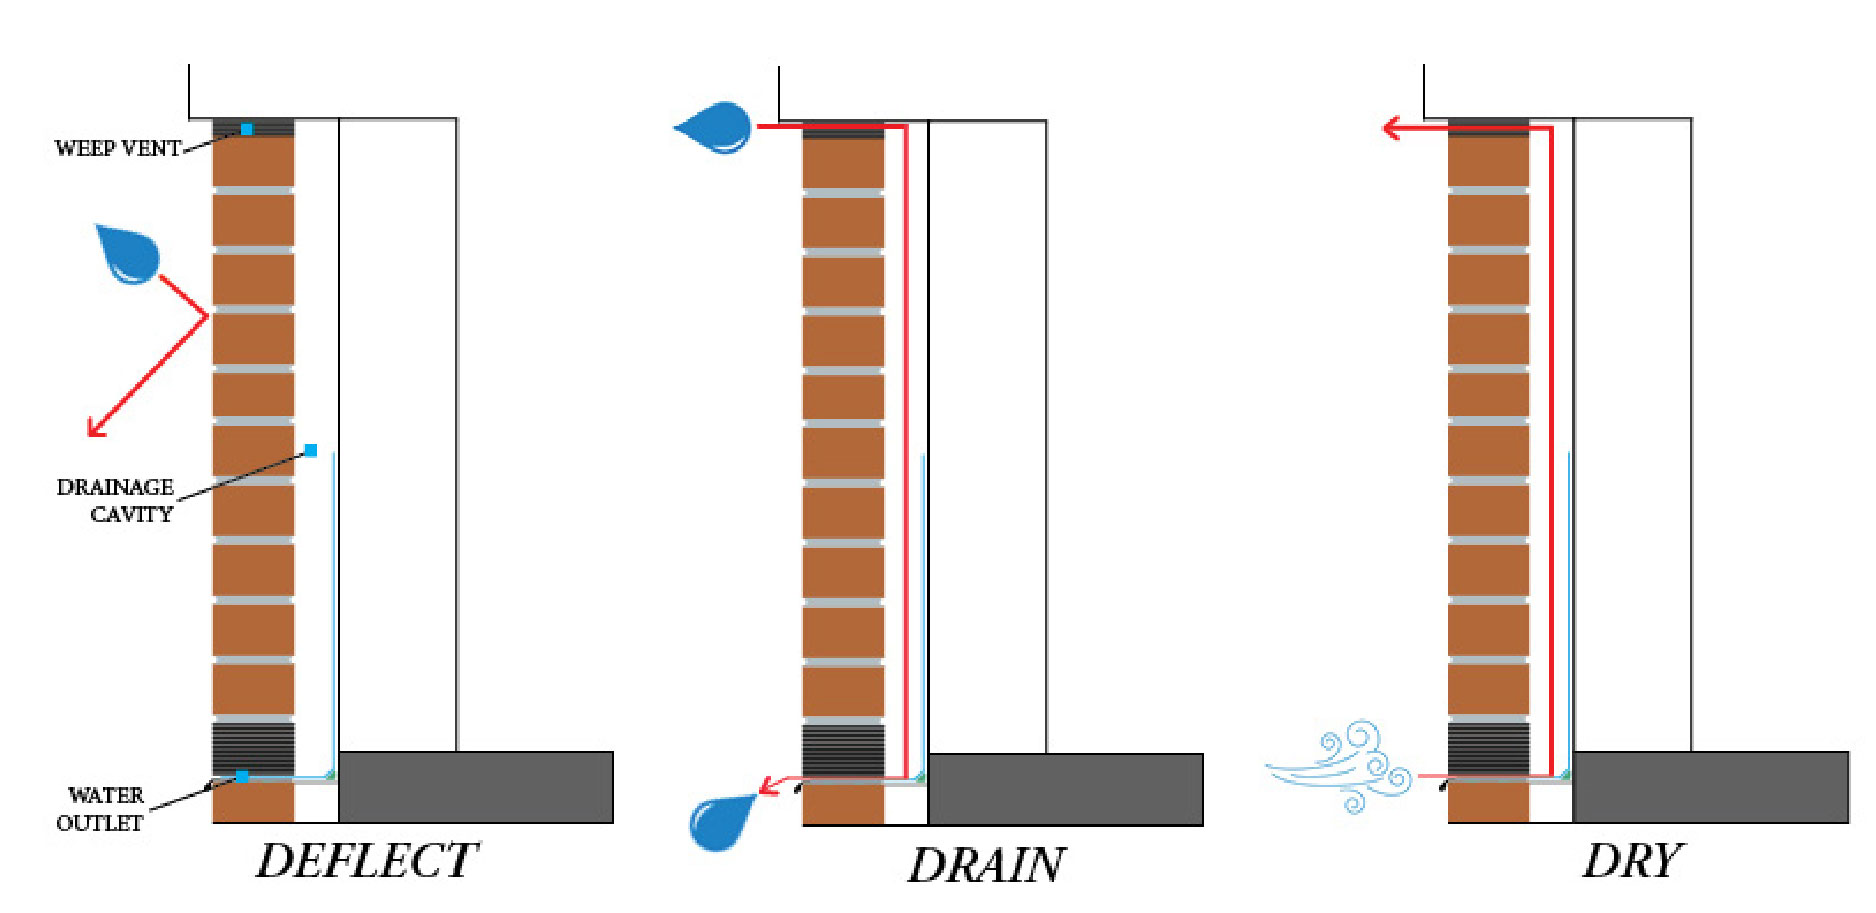
Building flashings are a small but critical component of construction that, if neglected, can lead to significant damage to a building. Keep in mind, there is no inherently “bad” flashing. Any material that directs water out of the assembly is better than none. Key considerations when selecting flashings are how long the flashing must perform and what support it needs to do so effectively. Flashings need to be viewed as part of the building enclosure system, requiring compatible accessories and proper detailing for long-term performance. Because uncontrolled water penetration accounts for up to 80% of construction-related claims in the United States, reducing moisture within the building enclosure is essential. Effective flashing follows the “3 D’s” of water management.
The 3 Ds of Water Management
· Deflect: The exterior veneer is the first line of defense, steering bulk water away from the exterior joints and openings.
· Drain: Any water that bypasses the exterior cladding and enters the wall cavity must be rapidly and efficiently evacuated. This is typically achieved through through-wall flashing that directs moisture to the exterior via weep holes.
· Dry: The building assembly must be able to release any remaining moisture to prevent rot and mold. Research shows that standard adhered veneers have very little outward drying potential, but using air gap membranes or drainage fabrics significantly increases drying rates. This stage also involves controlling inward vapor drives to prevent summer condensation on interior vapor barriers.
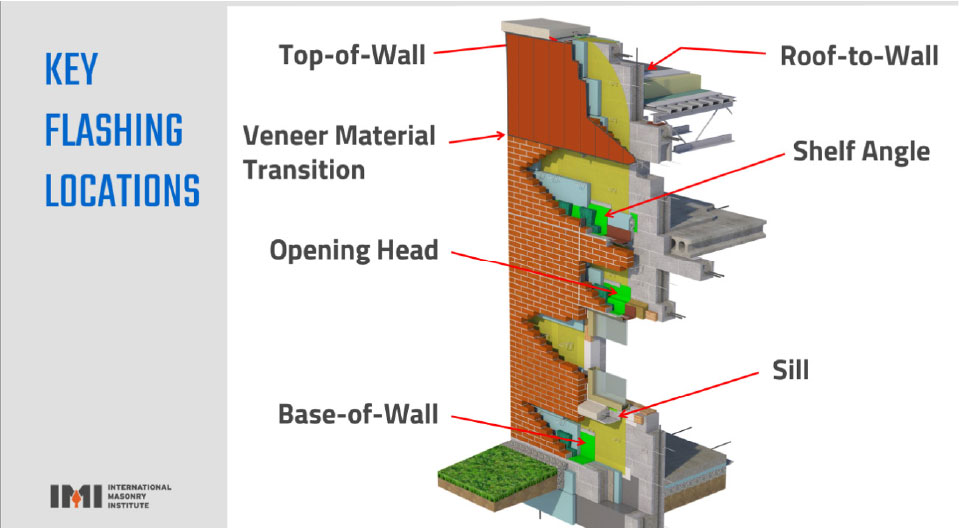
Strategic Locations in Commercial Construction
Through-Wall: Spans the entire thickness of a masonry wall to direct internal moisture to the exterior via weep holes.
Above Windows and Doors: Head flashing and drip caps prevent water from infiltrating the wall cavity at structural openings.
Chimneys: Employs a two-part system with base flashing against the roof and counter-flashing embedded in the masonry.
Roof-to-Wall Conditions: Includes step flashing for course-by-course intersections and kickout flashing to deflect water into gutters.
Foundation Interface: Protects the critical juncture between the foundation and the superstructure.
Transitions: Self adhering stainless steel flashings are able to be the product between air barrier materials that are not compatible, thus providing a means for the air barrier system to be continuous.
Material Description and Comparison
Material | Description | Key Benefits | Key Concerns |
|---|---|---|---|
Vinyl (PVC/Plastic)
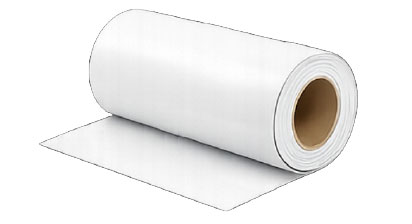
| Vinyl flashing is a flexible material made from polyvinyl chloride (PVC) plastic. It is a thin, smooth plastic membrane that is not self-adhesive. | Lightweight, cost-inclusive, corrosion-resistant. | Lacks long-term durability. When the plasticizers migrate the material can become brittle, causing issues with cracking or tearing. |
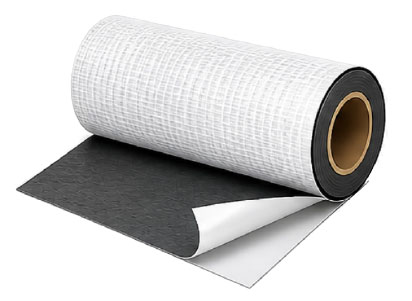
Self-Adhered Asphaltic Membrane (Rubberized Asphalt)
|
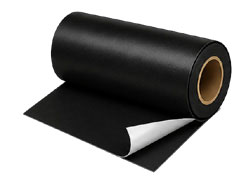
A petroleum-based “peel and
stick” material bonded to a
plastic or fabric facer.
|
Cost-inclusive.
|
Requires primer and accessories,
UV sensitive, low puncture
resistance, limited warranties.
Potential compatibility issues
with various adjacent products.
|
Self-Adhered Non-Asphaltic Membrane
|
Self-adhering non-asphaltic
membrane typically made from
synthetic rubber (butyl) with a
protective facer.
|
Higher puncture resistance,
great adhesion to most
substrates, higher temperature
durability range and lower
installation temperature range
than rubberized asphalt. No
staining. Some do not require
primer.
|
Some do require primer, UV
sensitive so it should be used
with necessary accessories, still
a lower puncture resistance
(higher than previous flashings).
|
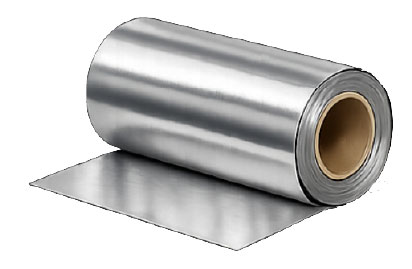
Flexible Metal
|
A thin layer of stainless steel
or copper, adjoined with a
polymer fabric on one or both
sides of the flexible metal.
|
High puncture resistance,
life of the building material,
can span a greater gap, less
compatibility issues, higher UV
resistance, can be used in longer
runs meaning less lap joints.
Needs less accessories to be
installed correctly.
|
Higher cost, imported metal
has the chance of not being to
standards, possibility of longer
lead times.
|
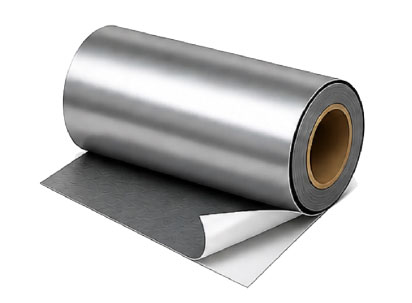
Self-Adhering Flexible Metal
|
Combines the increased
performance capabilities of
flexible metal flashings with the
self-adhering capabilities that
other peel and stick flashings
have.
|
Same as flexible metals but
with the addition of being
self-adhesive with a butyl or
acrylic adhesive. Stainless steel
can be used as a transition for
non-compatible air barriers.
|
Higher cost, imported metal
has the chance of not being to
standards, possibility of longer
lead times.
|
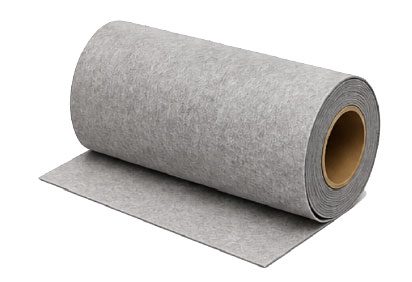
Active Drainage
|
An “all-in-one” system
featuring a drainage fabric
factory-bonded to the flashing.
Drainage fabric pulls water out
of the wall assembly.
|
Will actively drain water
out of the wall, mortar does
not block its function, so a
mortar collection device is not
necessary. Creates a continuous
weep. Does not need a drip
edge at the base of the wall.
|
Higher cost, weep vents are still
necessary for air flow to dry the
air cavity, different lap joint
installation.
|
Common Installation Failures and Issues
- Dirty Substrates and Surface Preparation: Adhesion failure often results from applying flashing to dusty, dirty, oily, or wet surfaces. Proper cleaning and priming, especially for rubberized asphalt products, are essential steps to ensure reliable long-term adhesion.
- Lack of Primer: Some self-adhering flashing materials (like rubberized asphalt products) require a primer to stay adhered; omitting it significantly compromises performance.
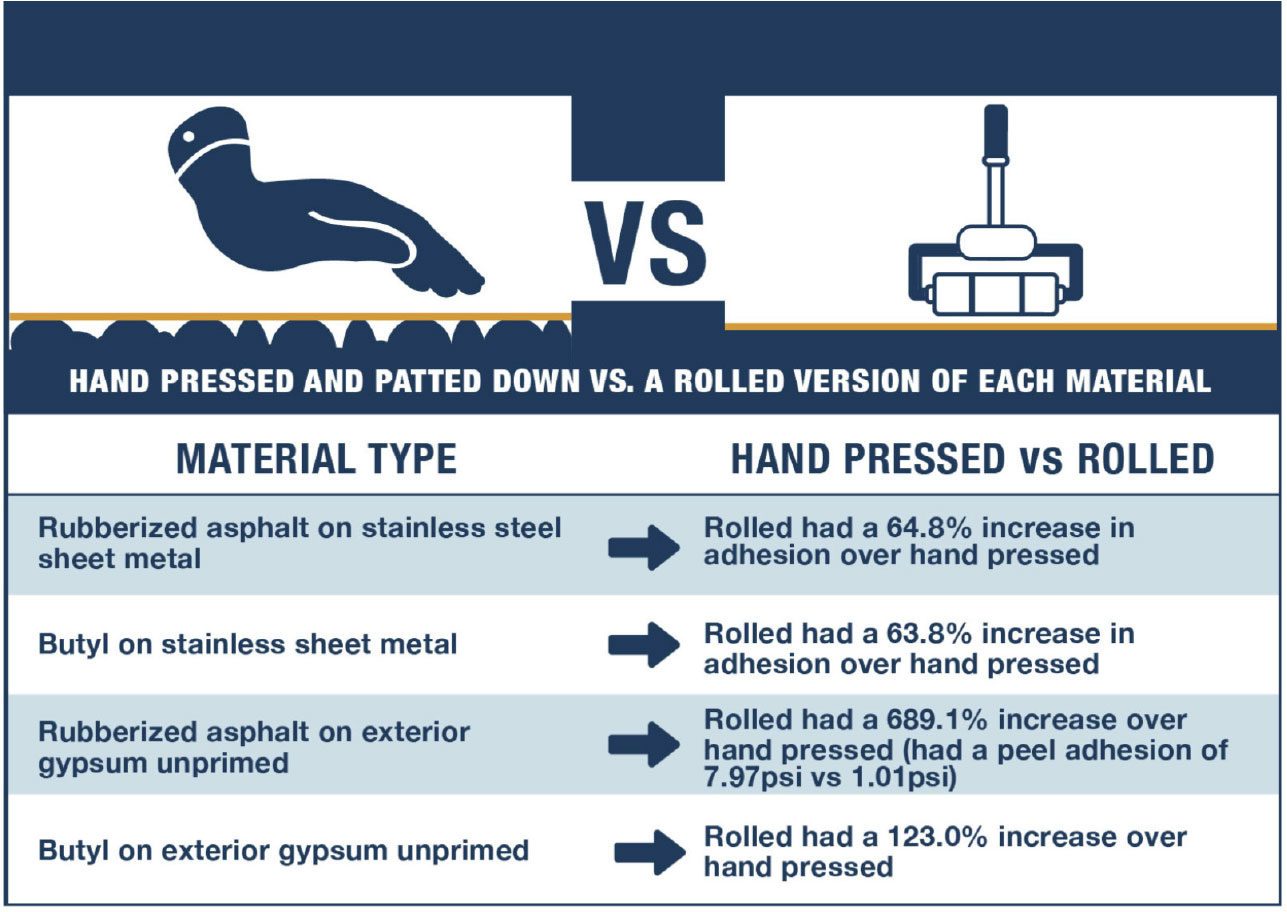
- Poor Adhesion: Self-adhered membranes must be rolled onto the substrate with a hard roller, using consistent pressure. Failing to roll the self-adhered membranes reduces the bond to the substrate and may cause premature failure.
- Construction Damage: Low-durability materials like asphalt or PVC are easily punctured (80 psi resistance) by tools or debris.
- Unsupported Gaps: Most flexible membranes cannot span gaps larger than 1/4” without support, flexible metals can span a larger gap because of their rigidity.
- Improper Vertical Lapping: Ensuring lap joints are properly sequenced, detailed, and sealed so water flows over rather than behind the flashing is crucial.
- Through-wall Support: For most membranes, support is needed when spanning gaps larger than 1/4” to prevent sagging and eventual failure.
- Chemical Incompatibility: Failure to ensure chemical compatibility between the flashing, sealants, air barriers, and insulation can lead to material degradation.
- Adhesive Compatability: Failure to ensure adhesive performance can cause products to delaminate, lose adhesion, and compromise the continuity of the building envelope.
- UV Degradation and Protection: Materials such as PVC and asphalt are sensitive to sunlight and can degrade when exposed. Protect these membranes by installing a metal drip edge that extends to the masonry’s outer edge, preventing UV exposure and ensuring durability.
- Improper Detailing: Not installing proper sealant at all joints (horizontal runs especially), missing end dams, improper material sequencing, or failure to use termination bars and sealant to mechanically fasten the top edge.
Tips and Tricks for Proper Installation
- Drip Edge Integration: For UV-sensitive membranes, lap the flashing onto a metal drip edge (minimum of 2” onto drip edge) that extends to the masonry’s outer edge. Keep the membrane back a minimum of 1” from face of exterior cladding.
- Termination Bars: Mechanically fasten the top of the flashing to the backer wall using a termination bar and a bead of sealant to prevent water runoff.
- Weep Protection: Place weep vents directly on top of the flashing and ensure they are protected from mortar clogs by netting or filter fabric.
- Spanning a Gap: For products that can’t span a certain length gap (most membrane material), it is important to provide flashing support so it does not sag and create a moisture pocket.
- Height and Extension: Flashing must extend up the backer wall at least 8” and 6” beyond (horizontally past) window/door openings, commonly to the first vertical mortar joint.
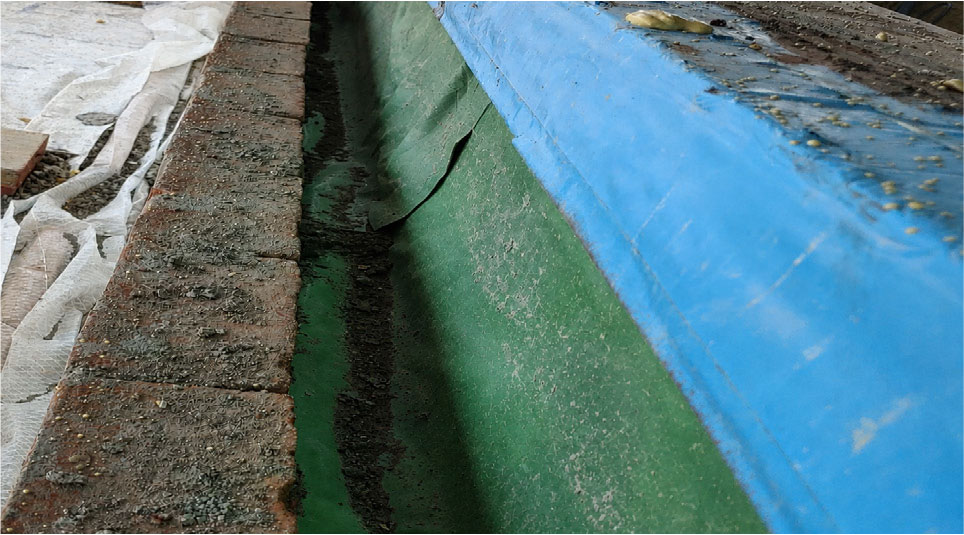
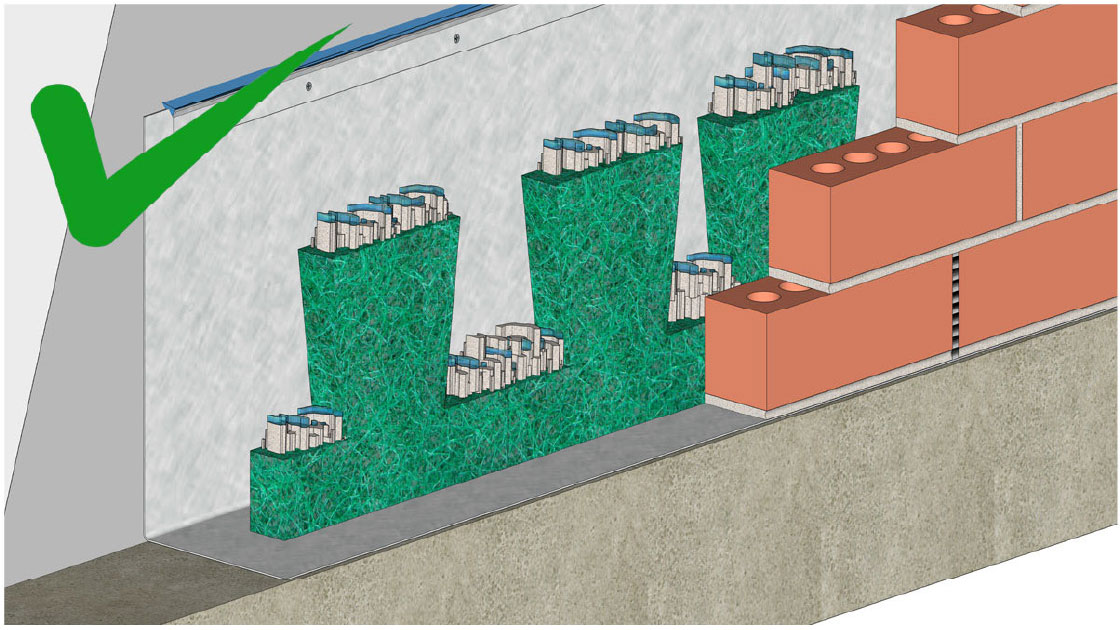
Through-wall flashing brought 6” above the mortar netting.
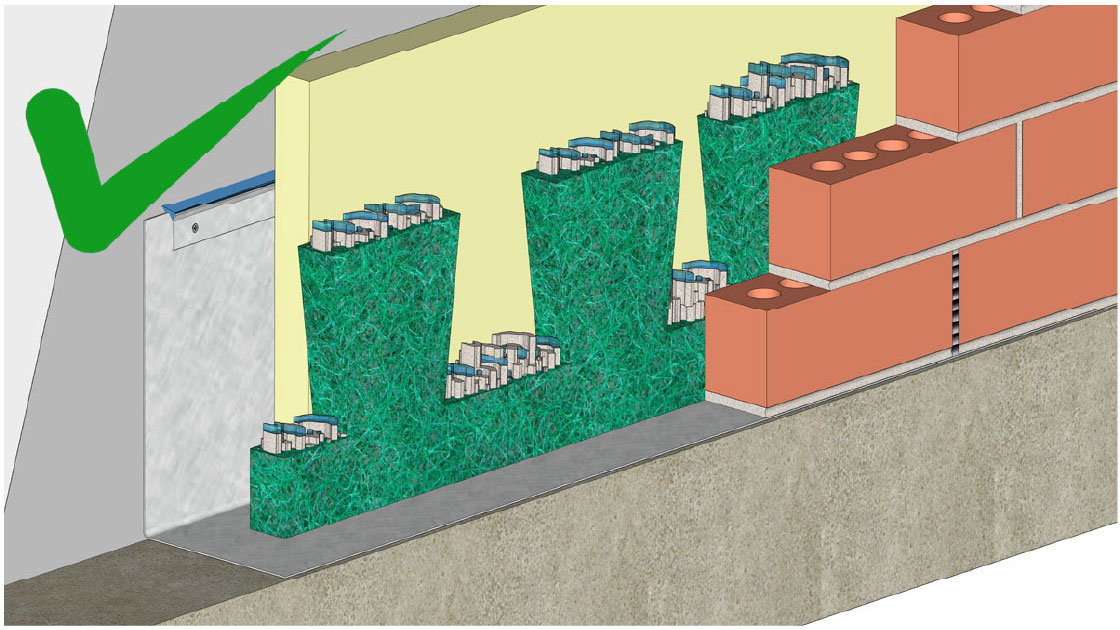
The exterior insulation is protecting the air barrier from the mortar so the through-wall flashing does not need to be brought 6” above the mortar netting.
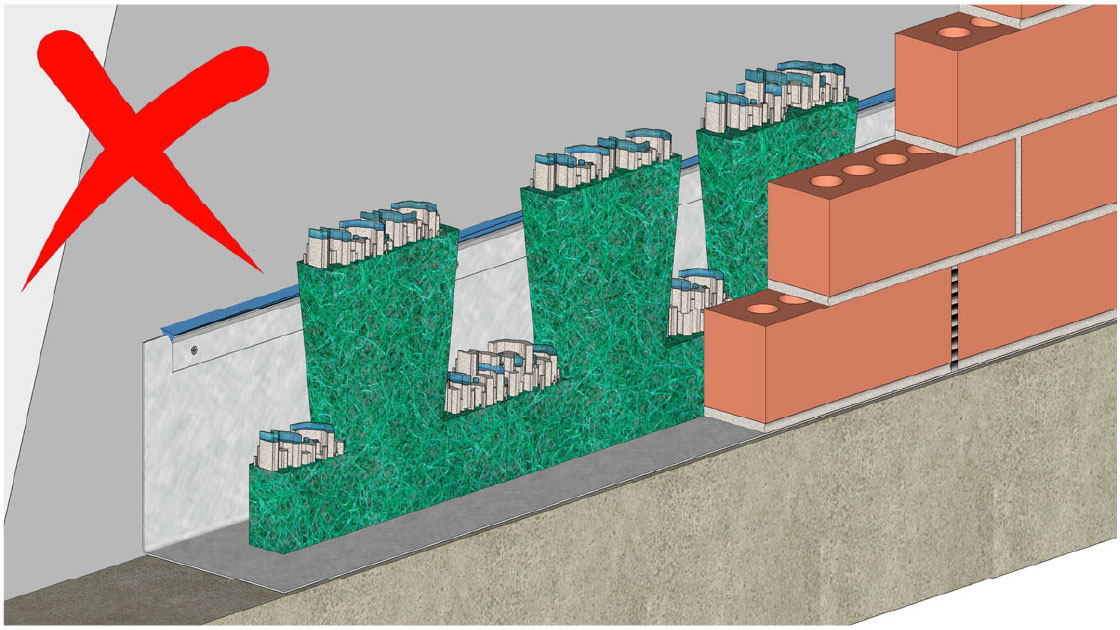
Through-wall flashing not brought 6” above the mortar netting so the mortar and moisture is sitting on the air barrier.
Conclusion
Flashing is not a maintenance product, it is inaccessible once construction is complete. That makes it critical to select and install the right flashing material correctly the first time. In the overall performance of the building, flashing plays a significant role in protecting the structure and extending its lifespan. Therefore, choose wisely; should value engineering be necessary, the flashing should not be the component that is “engineered” out of the design.